Introduction to Deactivation #
XLS Padlock provides a robust deactivation system that allows end users to unregister their application from a computer. This is especially useful when customers need to transfer a license to a new machine or reactivate their software after significant system changes.
How Deactivation Works #
Deactivation generates a certificate that the end user must send to you. Using the Test Deactivation Certificate feature in XLS Padlock, you can verify the certificate’s authenticity. It is crucial to note that once an application is deactivated, its activation key is invalidated. You will need to issue a new key to the user for any future activations.
Manual Deactivation #
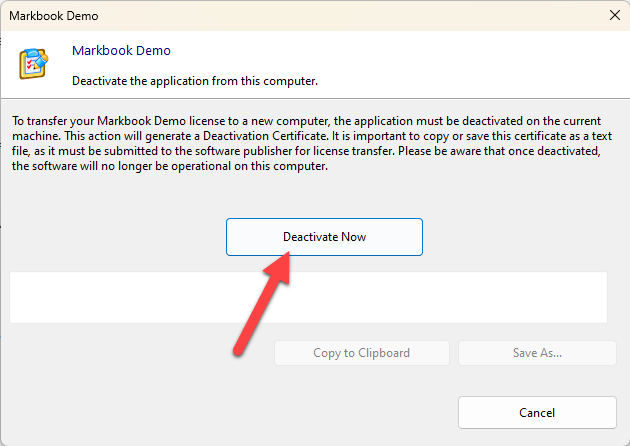
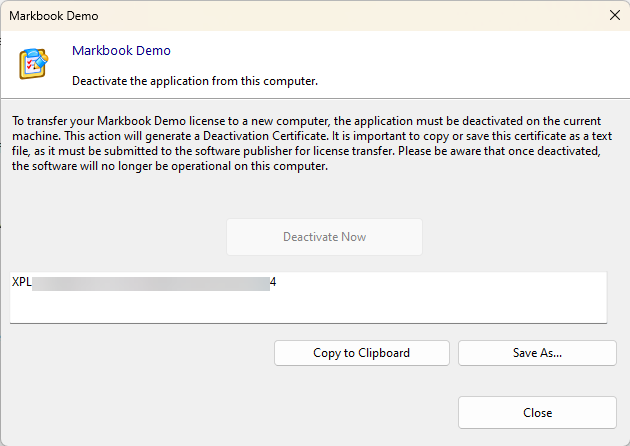
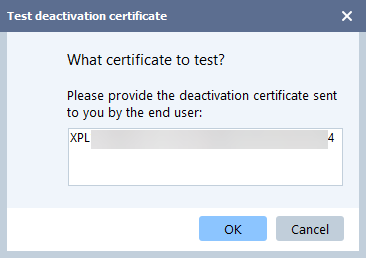
When a user deactivates their application, they must generate a deactivation certificate and send it to you:
Upon receipt, you can use the ‘Test deactivation certificate’ button in XLS Padlock to verify the certificate. If the deactivation is successful, XLS Padlock will display the deactivation date and the unique identifier of the user’s computer:
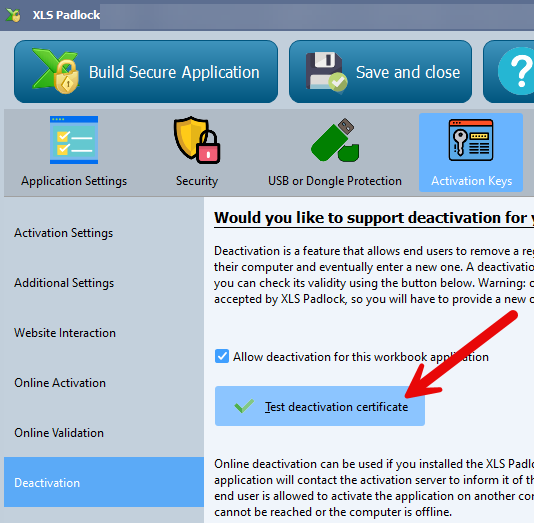
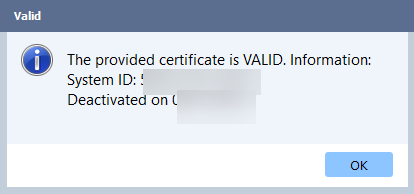
This information allows you to manage new activations for your client.
Online Deactivation #
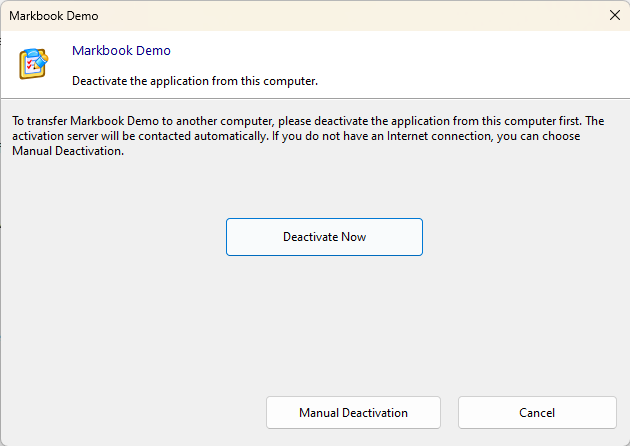
For a more seamless experience, XLS Padlock supports online deactivation if you have the XLS Padlock Activation Kit installed on your web server. The application communicates with your server to automatically unregister the activation. If the server is unreachable or the computer is offline, a manual deactivation certificate is created as a fallback.
Online deactivation automates the entire process, making it easier for both you and your customers.
Configuration of Online Deactivation #
Base Deactivation URL #
To use online deactivation, you must provide the URL to the XLS Padlock Activation Kit or the XLS Padlock WooCommerce Integration Kit on your web server. For instance, if you installed the activation kit in a subfolder named “activation”, the URL would be https://www.yourdomain.com/activation/dodeactivation.
Use HTTPS
Secure connections using TLS/SSL are supported. You should always use URLs that begin with https://.
⚠️ If you prefer to manage deactivation manually, leave this field blank.
Hide Manual Deactivation Button (in that case, it is shown if automated deactivation fails) #
By default, manual deactivation is always available as a fallback. If you want to encourage users to use online deactivation, you can choose to hide the manual deactivation button.
Note
Even if the button is hidden, the application will automatically offer manual deactivation if the online process fails (e.g., if the deactivation server is inaccessible or the user is offline).
How to Start Deactivation #
A user can initiate the deactivation process in three ways:
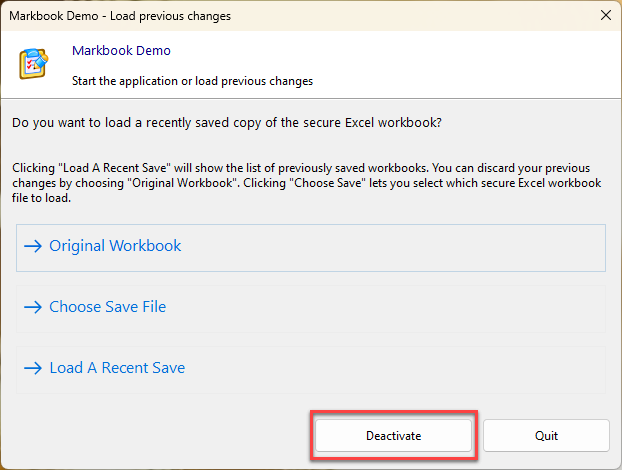
- The first option is through the integrated Welcome dialog of the application. Upon launching the secure application, the welcome dialog appears, presenting various options, including a “Deactivate” button. By clicking this button, users can begin the deactivation process in a user-friendly and guided manner:
- The second method involves the use of the command line. Advanced users may prefer this method for system automation or integration. To do this, the user needs to open the Windows command prompt, navigate to the directory where the secure application’s executable file is located, and then enter the name of the executable followed by the
**-deact**parameter. For instance, if the executable is namedApplication.exe, the complete command would be:
C:\Path\to\application\Application.exe -deactBy pressing Enter, the parameter is passed to the executable file, triggering the deactivation process.
- The third method uses the VBA API provided by XLS Padlock.
Deactivation is Final on a Machine
Please be advised that once a key is deactivated on a computer, it is permanently blacklisted on that machine and cannot be reused. Deactivation is a final action for that specific system. To use the application on the same computer again, a new activation key will be required. Note that this refers to activation keys, not activation tokens (as defined in the WooCommerce Integration Kit).
👉 See Also:
– Online Activation
– The integrated Welcome dialog