Stap 3: config.ini configureren
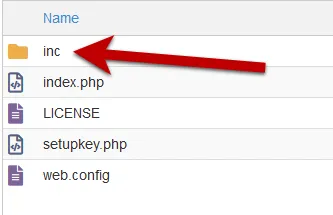
- Navigeer naar de submap “inc” en bewerk het bestand config.ini dat op uw server is opgeslagen.
Controleer nogmaals of het bestand config.ini niet openbaar toegankelijk is (de .htaccess voorkomt dat eindgebruikers er toegang toe krijgen), omdat dit bestand gevoelige gegevens bevat voor het genereren van activeringssleutels.
Het belangrijke deel van het bestand config.ini ziet er als volgt uit:
[globals]
; ====== Modify the following parameters for your workbook ======
; ** Your XLS Padlock user ID: paste your activation code after the xps- **xlspadlockuserid = "xps-xxxxxxxxxxxxxx"
; ** Default maximum number of activations per order allowed (we also take account of order quantity).; For instance, if the customer bought a quantity of 2 products and with defmaxactivperorder = 2, we would allow 4 activations.defmaxactivperorder = 2
; ** Your FastSpring API Username - see https://fastspring.com/docs/fastspring-api/ "Access the API"fsapi_username = "xxxxxxxxxxxxxx"
; ** Your FastSpring API Password - see https://fastspring.com/docs/fastspring-api/ "Access the API"fsapi_password = "xxxxxxxxxxxxxx"
; ========================; Do not modify belowDEBUG=0UI=./inc/app/views/AUTOLOAD=./inc/app/controllers/|./inc/app/models/|./inc/lib/-
Wijzig de waarde van de vermelding xlspadlockuserid in uw XLS Padlock-gebruikers-ID. U vindt deze gebruikers-ID op uw pagina Mijn account, waar deze met een knop Copy wordt weergegeven. Belangrijk: onthoud dat de gebruikers-ID begint met xps-
-
Geef ten slotte de API-gebruikersnaam en het wachtwoord op die u in stap 1 van FastSpring hebt gekregen.
fsapi_username = "ABCDEF12345"
fsapi_password = "54DEF321ABC"- Sla de wijzigingen in het bestand config.ini op.
De webtoepassing is nu klaar om gegevens te ontvangen van de gecompileerde EXE-bestanden van de werkmap en met uw website te communiceren.