Step 3: configure config.ini
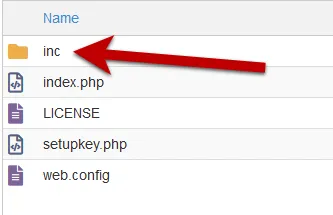
- Navigate to the “inc” subfolder and edit the config.ini file stored on your server.
Once again, check that the config.ini file cannot be accessed publicly (the .htaccess prevents end users from accessing it) because this file contains sensitive data for generating activation keys.
The important part of the config.ini file looks like this:
[globals]
; ====== Modify the following parameters for your workbook ======
; ** Your XLS Padlock user ID: paste your activation code after the xps- **xlspadlockuserid = "xps-xxxxxxxxxxxxxx"
; ** Default maximum number of activations per order allowed (we also take account of order quantity).; For instance, if the customer bought a quantity of 2 products and with defmaxactivperorder = 2, we would allow 4 activations.defmaxactivperorder = 2
; ** Your FastSpring API Username - see https://fastspring.com/docs/fastspring-api/ "Access the API"fsapi_username = "xxxxxxxxxxxxxx"
; ** Your FastSpring API Password - see https://fastspring.com/docs/fastspring-api/ "Access the API"fsapi_password = "xxxxxxxxxxxxxx"
; ========================; Do not modify belowDEBUG=0UI=./inc/app/views/AUTOLOAD=./inc/app/controllers/|./inc/app/models/|./inc/lib/-
Change the value of the entry named xlspadlockuserid to your XLS Padlock user ID. You can find this user ID on your My Account page, where it is shown with a Copy button. Important: remember that the user ID begins with xps-
-
Finally, provide the API username and password you got from FastSpring at step 1.
fsapi_username = "ABCDEF12345"
fsapi_password = "54DEF321ABC"- Save modifications to the config.ini file.
The web application is now ready to receive data from the compiled workbook EXE files and communicate with your website.