Activation and Licensing Guide
This guide covers the various options related to activation keys, licensing, online validation, and deactivation for your protected applications.
Core Concepts
Section titled “Core Concepts”Enabling Activation Keys
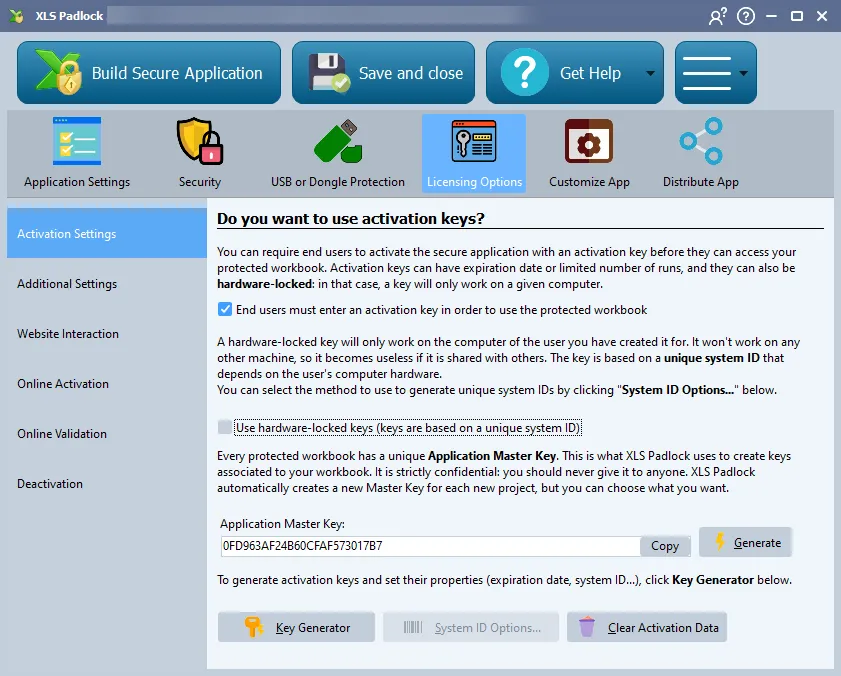
Section titled “Enabling Activation Keys”To require users to have a key to use your application, enable the option: “End users must enter an activation key in order to use the protected workbook”. This is the primary switch to turn on the licensing features.
Application Master Key
Section titled “Application Master Key”Every protected workbook has a unique Application Master Key. XLS Padlock uses this key to generate activation keys associated with your workbook. It is strictly confidential and should never be shared. XLS Padlock automatically creates a new Master Key for each project.
Application GUID and Secret Key
Section titled “Application GUID and Secret Key”- The Application GUID is a unique identifier used by the application to store its settings and manage save files on a user’s computer.
- The Application Secret Key is used to encrypt and secure user save files (
.XLSCor.XLSCE). It ensures that save files made with your application can only be opened by your application.
Let End User Change Activation Key
Section titled “Let End User Change Activation Key”A user can change their activation key by running the application with the -enterkey command-line switch (e.g., MYAPP.EXE -enterkey). This is useful for replacing a key that is about to expire.
Clear Activation Data
Section titled “Clear Activation Data”For testing purposes on your own machine, the “Clear Activation Data” button in the Key Generator resets all activation information stored locally.
Hardware-Locked Keys
Section titled “Hardware-Locked Keys”A hardware-locked key will only work on the specific computer it was generated for, making it useless if shared. The key is based on a unique System ID derived from the user’s computer hardware.
- System ID Options: You can select which hardware components (CPU, MAC address, etc.) are used to generate the System ID. Be consistent with these options after deploying your application.
- Obtaining the System ID: When a user runs the application, they will be shown their System ID, which they must send to you. You then use this ID in the Key Generator to create their key.
- Online Automation: To avoid manual exchange of System IDs, you can use the Online Activation features.
WebSite Interaction
Section titled “WebSite Interaction”
Get Key Online Button
Section titled “Get Key Online Button”You can display a “Get Key Online” button on the activation window. This button opens the user’s web browser to a URL you specify. You can use the %SYSTID% placeholder in the URL to automatically pass the user’s System ID to your website’s key generation script.
Example URL: https://www.yourwebsite.com/getkey.php?systid=%SYSTID%
Show “Purchase Online” Button
Section titled “Show “Purchase Online” Button”For trial versions with a nag screen, you can add a “Purchase Online” button that directs the user to your store or purchase page.
Additional Settings
Section titled “Additional Settings”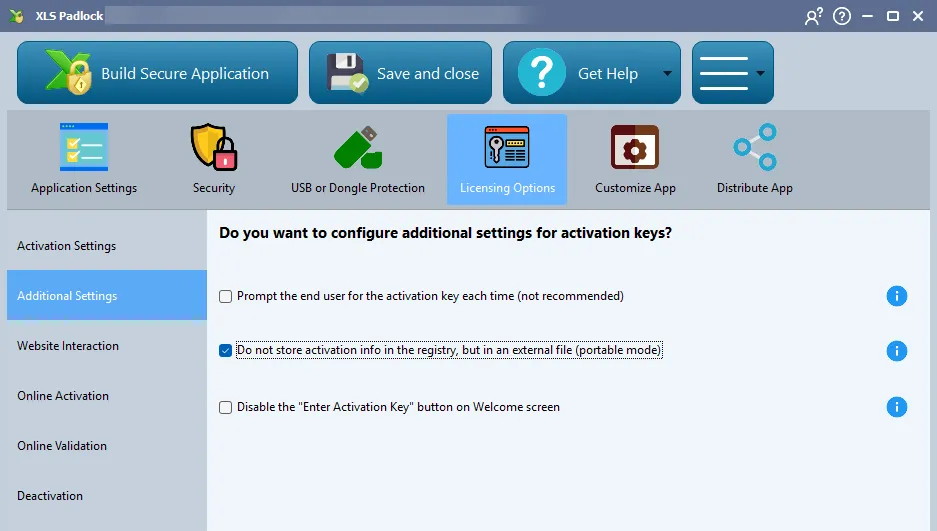
Portable Mode
Section titled “Portable Mode”Enable the option “Do not store activation info in the registry, but in an external file (portable mode)”. This creates a hidden .lic file in the same folder as your EXE, allowing the application to be run from a USB drive without writing to the Windows registry.
Prompt the end user for the activation key each time
Section titled “Prompt the end user for the activation key each time”By enabling “Prompt the end user for the activation key each time”, your users will have to enter the activation key each time they open your application. It is not recommended, because it is fastidious for your customer, and you cannot set expiration features for the key.
Disable the “Enter Activation Key” button on Welcome screen
Section titled “Disable the “Enter Activation Key” button on Welcome screen”This will remove the possibility for your end users to enter an activation key when they open your Excel workbook application. It is not recommended to use that option though.