Copy the files to your server
In the local folder on your computer where you unpacked the WooCommerce integration kit, you will find a folder named “xlspadlock-woocom”.
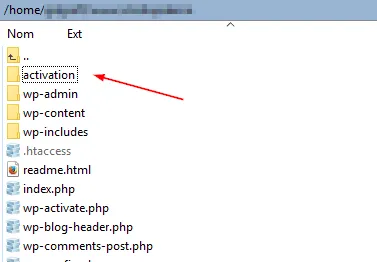
Upload the entire contents of the “xlspadlock-woocom” folder to your web server. It can be in the root folder of your WordPress website, but it can be somewhere else too (especially if you get conflicts).
You can then rename the folder to something else if you want, for instance “activation” as shown below:
Open the “activation” folder and you should see:
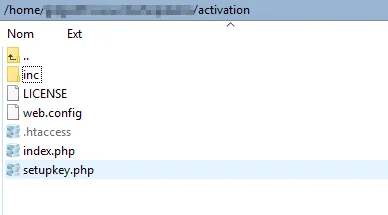
- If you are on Windows IIS, delete the unnecessary .htaccess file.
- If you are on Apache, delete the unnecessary web.config file.
- If you are on NGINX, make sure to import rewrite rules from the .htaccess file before deleting it, as explained in the Server Requirements.
Finally, go to “inc” and change permissions to make the “logs” directory writable (755 permission). On Unix: use chmod 775 logs
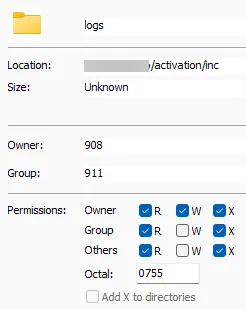
Then, ensure the web server user owns the directory with chown www-data:www-data logs.